Table of Contents
Ever thought about Can I Encapsulate My Crawl Space Myself? Or should you call in the experts? This task is key for better air and a stronger home against moisture and pests. We’ll explore if you can do it yourself or if you need professional help.
Knowing about DIY crawl space encapsulation can help you decide what’s best for your home. It’s all about making the right choice for your unique situation.
Key Takeaways
- Crawl space encapsulation can save energy costs by improving efficiency.
- Recommended relative humidity levels for optimal conditions are between 45% and 55%.
- Investing in a remote humidity monitor is an affordable step toward moisture control.
- Many homes struggle with poor moisture management due to outdated building practices.
- Proper encapsulation can lower the risk of mold and pest issues significantly.
- Understanding local regulations is key, as permits may be needed for encapsulation.
Understanding Crawl Space Encapsulation
Crawl space encapsulation is key to keeping your home safe from moisture and related problems. It seals off the crawl space to stop water from getting in. This also boosts energy efficiency and improves indoor air quality.
This controlled space reduces mold and pest risks. These can harm your home’s structure.
What is Crawl Space Encapsulation?
Crawl space encapsulation creates a barrier to lower humidity levels. A good vapor barrier is vital to block moisture. This improves air quality, as up to 60% of indoor air comes from the crawl space.
Benefits of Crawl Space Encapsulation
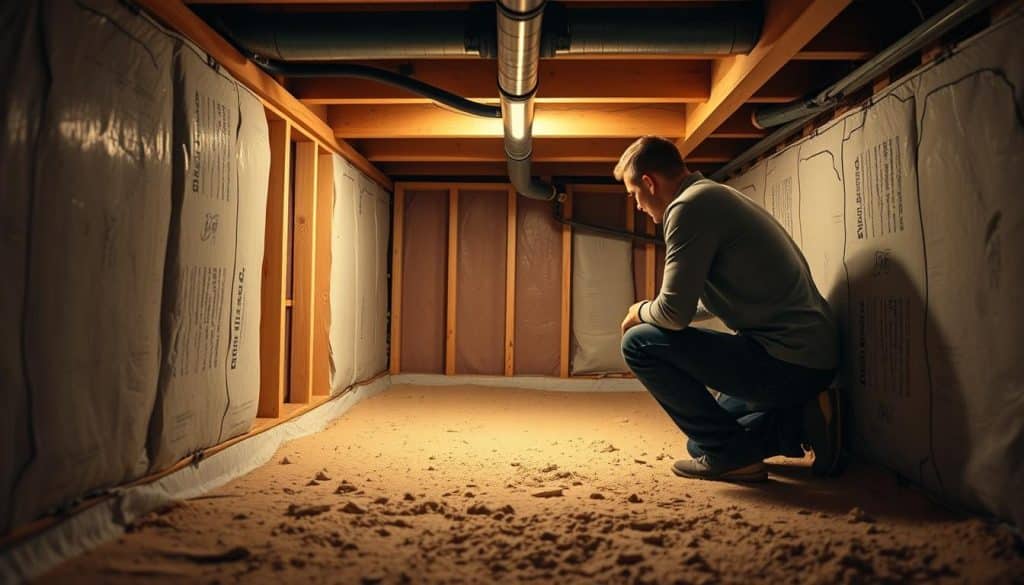
Encapsulation does more than just control moisture. It can lower energy costs by improving HVAC efficiency. A well-kept crawl space also reduces energy loss.
This leads to a healthier home by stopping mold growth. Mold harms air quality. Encapsulating your crawl space can also raise your home’s value, making it a smart investment.

Common Materials Needed
For crawl space encapsulation, you’ll need a few key materials. A heavy-duty vapor barrier and quality sealants are essential to keep moisture out. You might also need insulation like foam board or spray foam.
In some cases, adding drainage systems or dehumidifiers is necessary for a lasting fix.
Assessing Your Crawl Space Conditions
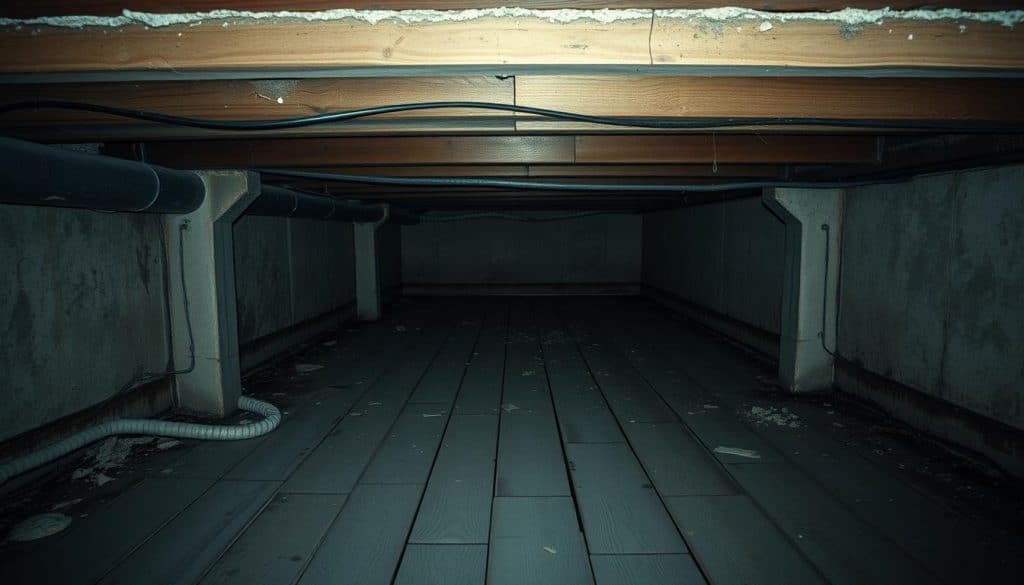
Knowing how your crawl space is doing is key to keeping your home healthy. Signs that you might need to encapsulate your crawl space can help avoid expensive problems. Catching these signs early can save your home from damage.
Signs You Need Encapsulation
Look out for musty smells, mold, standing water, and pests. If your floors feel cold, it might mean there’s moisture in your crawl space. Spotting these signs early can save you from costly repairs.
Importance of Moisture Control
Keeping moisture out of your crawl space is vital. Too much moisture can damage your home’s structure and harm your health. Fixing moisture problems quickly with encapsulation protects your home and health.
Preparing for Encapsulation
Before starting the encapsulation process, it’s key to get the right tools and know the safety steps for crawl space work. Using the right equipment makes tasks easier and keeps you safe from hazards in these tight spaces.
Tools and Equipment for DIY Encapsulation
For DIY encapsulation, you’ll need a few important tools. A utility knife is great for cutting the vapor barrier. A measuring tape is essential for getting the right sizes for your materials. A trowel helps apply adhesives well.
Wearing safety goggles and gloves is a must for protection. You might also need a dehumidifier to control humidity in the crawl space.
Safety Precautions to Consider
Safety is very important when working in crawl spaces. These areas often have bad ventilation, water, and mold, which can harm your health. Wearing gloves and masks helps protect you from allergens and irritants.
Good ventilation is key to avoid breathing in harmful particles. Always watch out for moisture and pests, keeping your safety first as you work.
The Step-by-Step Process of Encapsulation
Starting the encapsulation process needs careful planning and action. It begins with cleaning and getting ready, then installing vapor barriers. After that, seal the crawl space well to keep out moisture and pests.
Cleaning the Crawl Space
Cleaning the crawl space is the first key step. Remove debris, old insulation, and mold signs. A clean space is key before putting in vapor barriers. Skipping this can cause moisture issues later.
Installing the Vapor Barrier
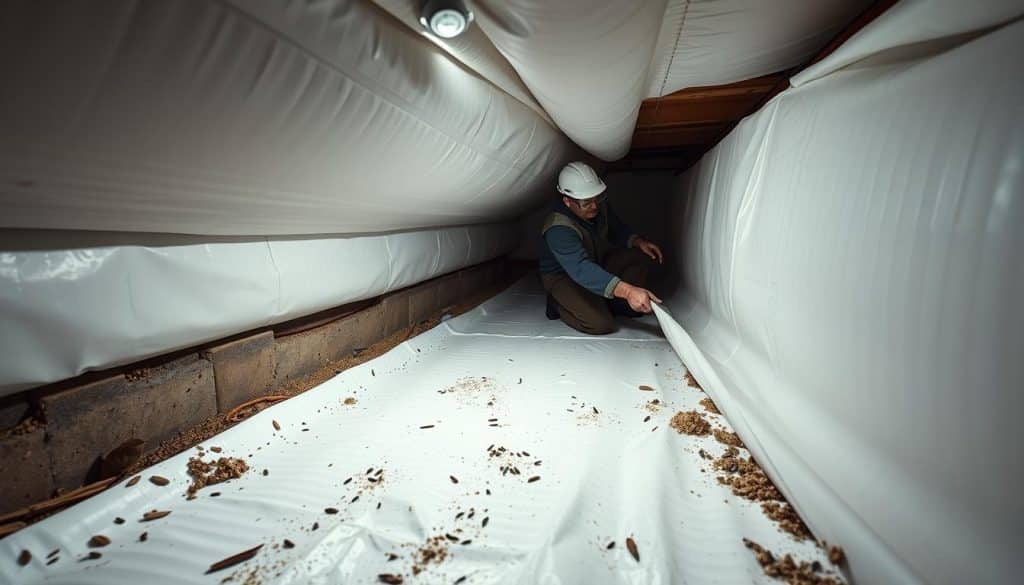
Then, install the vapor barrier. Place it on the floor and up the walls. Make sure to seal the seams well to stop moisture leaks. This barrier helps keep the crawl space dry, improving home energy and comfort.
Sealing the Crawl Space
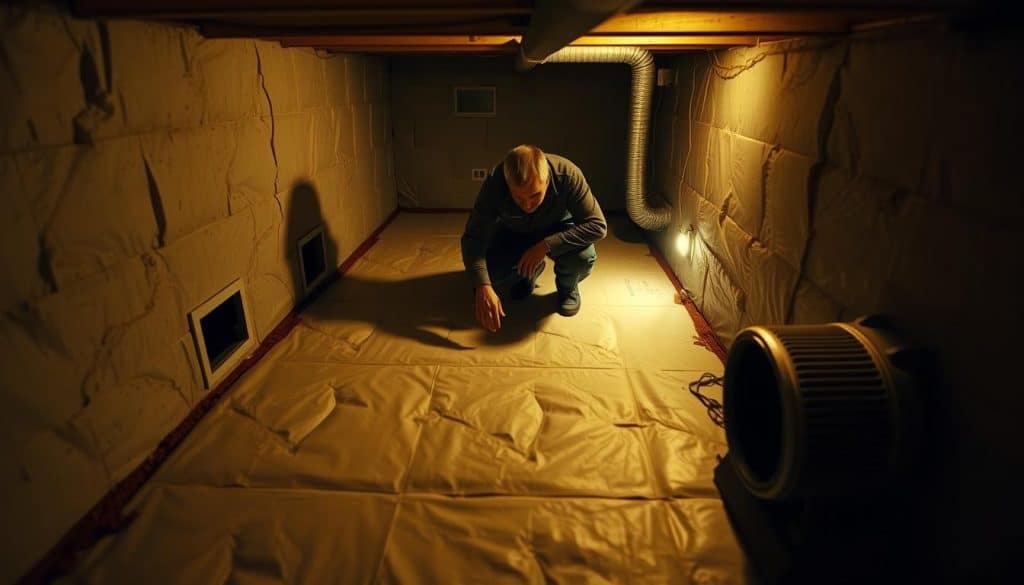
The last step is sealing vents, openings, and air leaks. This step blocks moisture, keeping the crawl space safe. By following these steps, homeowners can make their homes healthier.
Common Mistakes to Avoid
When you start crawl space encapsulation, knowing common mistakes is key. Many homeowners face issues that could have been avoided. It’s important to be careful and know what not to do when doing it yourself.
Neglecting Moisture Problems
One big mistake is ignoring moisture in the crawl space before starting. Not fixing moisture can cause humidity to stay, even after you’re done. This can lead to mold and damage, making your efforts useless.
It’s vital to make sure the crawl space is dry before you start. This makes your encapsulation project work better.
Improper Barrier Installation
Another mistake is not installing vapor barriers right. If seams aren’t sealed well or walls aren’t covered enough, it fails. This can cause moisture and higher energy bills.
Make sure to use at least six millimeters of floor plastic and overlap it by a foot. This makes the barrier last longer, up to 20 years with care.

Professional vs. DIY Encapsulation
Choosing between professional crawl space encapsulation and doing it yourself depends on cost and expertise. Homeowners need to weigh these factors to decide what’s best for their situation.
Costs Involved in DIY Projects
Starting a DIY crawl space encapsulation project might seem cheaper at first. Costs can vary from a few hundred to several thousand dollars. This depends on the crawl space’s size and any needed repairs.
Materials only make up about 25% of the total cost. Labor, which is about 75%, can be a big challenge. Many homeowners, even with remodeling experience, might not have the right skills or tools for a complete job.
Benefits of Hiring Experts
Going with professional encapsulation services usually leads to better results. The average cost is over $15,000, with some places charging up to $30,000. This might seem expensive at first, but the long-term benefits are worth it.
Experts have the experience and tools needed for a proper installation. This not only fixes water and mold issues but also boosts energy efficiency. This can lead to big savings on utility bills over time.
Also, professional encapsulation can increase a home’s resale value. It improves the home’s structure and air quality. Homeowners in areas like Cary, NC, are seeing the value in hiring experts for lasting results and peace of mind.
The Role of French Drains
French drains are key in stopping moisture problems in crawl spaces. They help keep the area dry, which is vital for controlling moisture. Knowing how they work shows why they’re important for protecting a home’s foundation and avoiding water damage.
How French Drains Work
French drains move water away from a building’s base. They have a trench filled with gravel and pipes with holes. These pipes collect water and move it away, keeping crawl spaces dry.
This is important because too much moisture can cause mold and wood rot. These problems can harm the structure and air quality inside.
Installing French Drains in Crawl Spaces
To install French drains, a trench is dug that slopes away from the foundation. The pipes are placed in gravel to help water flow. It’s important to install them correctly to move water away and reduce moisture in crawl spaces.
Adding French drains not only controls moisture but also helps encapsulation efforts last longer. It’s a smart investment for your home’s health.
Maintenance After Encapsulation
Keeping your crawl space in good shape is key to making your encapsulation last. It’s important to check on it after you’ve done the encapsulation. This way, you can spot any problems early on.
Checking your crawl space at least twice a year helps keep moisture under control. This regular check-up can save you from bigger problems down the line.
Regular Inspections
Regular checks after encapsulation help you see how your barrier is doing. Look for any signs of moisture or damage to the materials. Catching these issues early can save you from expensive repairs later.
Signs of Recurring Moisture Issues
Watch out for signs of moisture problems in your encapsulated space. Mold, water pooling, or too much humidity are red flags. If you see these, act fast to fix the issue and keep your space safe.
When to Consider Professional Help
Crawl space encapsulation is a big job that affects your home and your life. Knowing when to get professional help depends on your crawl space’s condition. If you have severe mold or water damage, getting experts is key. They can fix the problem and make your home safer and healthier.
Severe Mold or Water Damage
Noticeable mold or water in your crawl space means you need professional help. Skilled technicians can figure out the damage and fix it. Not dealing with it can harm your home and your health.
Local Regulations and Codes
Following local rules for crawl space encapsulation is important. These rules, like building codes, tell you what to do. They might say you need a vapor barrier or to keep areas clear for checks. Knowing these rules helps avoid legal trouble and makes your home more valuable. For more on when you need encapsulation, check this resource.
How Array of Solutions Can Assist You
Array of Solutions offers help for homeowners facing mold and crawl space problems. We focus on finding solutions that fit your needs. This ensures your home is safer and healthier.
Our Mold Testing and Inspection Services
We provide quick mold testing in South Carolina. Our team gives you important details about mold in your home. They do detailed inspections to find hidden mold.
With the latest testing tools, we find out what kind of mold you have and how much. This info is key for fixing the problem and keeping your home safe.
Customer-Centric Approach
At Array of Solutions, we put our customers first. We know every problem is different. Our crawl space services are tailored to your needs, keeping quality high.
We help you from the start to after the fix. We make sure you get the best results and a mold-free home.
Contact Information for Your Crawl Space Needs
Ensuring your home’s health and efficiency is key. For crawl space encapsulation, mold inspection in Greenville SC, or other services, reach out to Array of Solutions. Call them at (864) 710-6413 or email at scmoldremoval@gmail.com. They offer expert services tailored to your needs.
Get in Touch with Array of Solutions
Don’t delay in addressing crawl space moisture issues. Contact Array of Solutions to discuss your concerns and schedule a consultation. They offer a $69 diagnosis fee and discounts for military and referrals, making it affordable.
Schedule Your Consultation Today
Take action for a healthier home. Schedule your consultation today to learn about crawl space encapsulation. It can improve your air quality and lower energy costs. For more on their services, visit this page. Early action prevents bigger problems and ensures a healthier home.


