Curious whether a musty smell means danger, or if a small stain really calls for action? I’m Douglas Ray Whitehead, owner of Array of Solutions in Greenville, SC. I answer every call personally and have over a thousand inspections and hundreds of remediations behind me.
This guide explains how to test mold in house with clear, safe steps you can take today for preliminary mold testing, plus when to call a pro. You’ll learn what fuels growth, how to spot early signs, and how indoor air compares with outdoor baselines.
We emphasize simple, least invasive methods that protect finishes and family health, and we back workmanship with a transferable warranty. If you want help, call (864) 710-6413 or email scmoldremoval@gmail.com for direct support in the Greenville area.
Key Takeaways
- Learn safe, step-by-step actions for preliminary mold testing.
- Recognize causes and early signs that warrant action.
- Compare indoor air to an outdoor baseline for context.
- Know when visible growth needs immediate remediation.
- Choose testing or pro services based on risk and finish protection.
- Prevent recurrence by controlling moisture and air quality.
Understanding Mold Growth, Exposure, and Why It Matters Now
Mold growth starts when moisture meets common building materials and is left long enough. Drywall, wood, paper, dust and similar materials feed tiny organisms. Even brief water events—like a slow leak or trapped condensation—can lead to visible stains or musty odors weeks later.
What fuels growth: moisture, materials, and time
Leaks not dried within 24 hours raise risk greatly. New construction can harbor damp materials from transport or framing, creating hidden problems behind finishes.

Present-day risks in U.S. homes and buildings
Surveys show many buildings report past or current water intrusion and roughly half of U.S. homes have some dampness. That makes potential exposure common and worth checking.
- Humidity above about 50% for long stretches helps growth; a simple hygrometer gives quick feedback.
- Different species behave differently—some stay stuck to surfaces, others send more spores into the air.
- Mold exposure can cause symptoms in sensitive people, from allergy-like reactions to breathing problems.
- Toxic mold is a lay term; persistent growth always signals a moisture problem that needs fixing.
At Array of Solutions I focus on least invasive, effective approaches. If you suspect active growth or air quality issues, prompt moisture control and careful assessment protect health and finishes.
Early Detection: Signs, Symptoms, and Common Areas to Inspect
Spotting early clues can save finishes and prevent health problems before they escalate. Start with a quick walk-through and note unusual odors, stains, or warped surfaces. Musty smells often come from microbial VOCs, not just old carpets.
Visible signs and smells
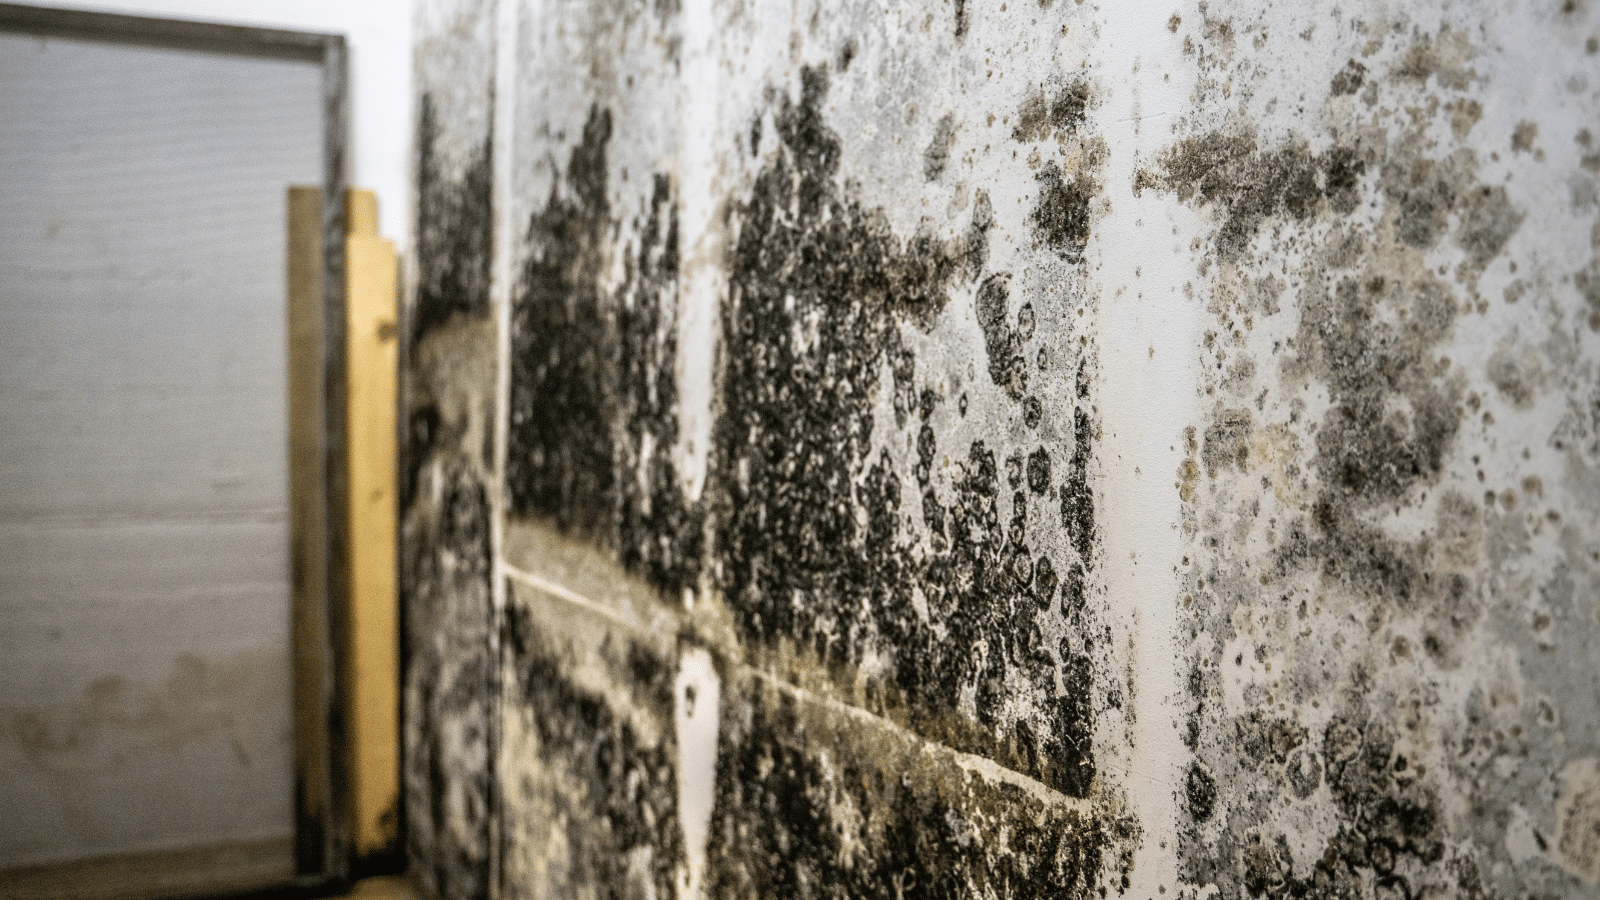
Look for discoloration in green, black, or other shades. Growth can be fuzzy or slimy and may lift paint, bubble drywall, or warp baseboards.
Health red flags
Early symptoms include sneezing, itchy eyes, coughing, and shortness of breath. Track when symptoms ease after leaving certain rooms; worsening asthma attacks or recurring respiratory problems are urgent clues.
High-risk spaces
- Bathrooms, kitchens, basements, and crawlspaces—plumbing, steam, and damp soil are common sources.
- HVAC components and under sinks—condensate and small leaks hide growth and mold spores.
- Behind drywall or under flooring—hidden moisture often shows only as staining or odor at first.
If you see visible mold or large staining, public health guidance favors remediation over sampling. Document affected areas and materials, limit airflow, and call me for a quick consultation for Greenville and nearby communities.
Assessing Risk Before Testing: Water Damage, Humidity, and Past Leaks
Begin with a focused moisture survey that highlights where water moves through the property and which materials stay damp. I come onsite and map moisture with the least invasive checks, then explain what the data means for your family and repairs.
Start outside: check grading, gutters, downspouts, and splash blocks for paths that push water toward the foundation. Inside, inspect roofs, attics, basements, and crawlspaces for stains, damp insulation, or efflorescence.
- Measure humidity and material moisture with a hygrometer or moisture meter; sustained humidity above about 50% raises growth risk.
- Document past leaks in bathrooms, kitchens, laundry, and behind appliances; slow drips can seed deep colonization.
- Map stained areas and note affected materials—porous substrates hold moisture and are likelier to harbor growth.
- Stabilize conditions before testing by fixing active leaks, controlling humidity, and avoiding heavy cleaning that could skew results.
Decide whether air or surface sampling is useful now, or if remediation planning must come first. If sensitive occupants live here, we often implement containment and filtration first, then perform selective sampling that targets problem areas.
With a proper pretesting inspection and moisture mapping, you get clearer data, fewer repeat visits, and a practical plan that protects finishes and health.
How to Test Mold in House: A Step-by-Step DIY Process
Gathering representative samples requires preparation, protective gear, and attention to details that affect results.
Prepare the area and gear
Close doors, windows, and HVAC vents for about 24 hours before collecting air samples. This helps stabilize conditions and make sure readings reflect typical indoor air.
Wear gloves, eye protection, and a quality mask or respirator. Avoid sweeping or wiping surfaces before sampling.
Choose appropriate test kits
- Petri dishes for passive settling.
- Adhesive tape lifts and swabs for targeted surfaces.
- Small air pumps with cassettes for active air sampling.
Collect, label, and document
Place devices where symptoms are worst or where past moisture events occurred. For surface samples, sample the edge of a stain rather than the center to capture transition zones.
Label each sample with room, position, date, and time. Take clear photos and follow instructions exactly for exposure times, storage, and shipping.
Interpret results and next steps
Some kits give instant results; others require lab analysis. If findings conflict with visible conditions, call me. I can review your samples, validate results with professional tools, and recommend the least invasive next steps.
Professional-Grade Methods: Air, Surface, and Specialized Testing
A measured approach using paired air and material sampling clarifies what’s active and what’s historical. We begin with spore trap sampling both outdoors and inside. As a rule, indoor air counts should be at least 50% lower than outdoor baselines for similar species.
Because some species like Stachybotrys (often called black mold) are sticky, air reads can undercount them. For that reason we add tape lifts and targeted swabs of surfaces to confirm presence without major disturbance.
- Paired indoor air and outdoor spore traps, then comparison analysis.
- Tape lifts and swabs for material confirmation and species ID.
- HVAC filter dust or duct swabs for environmental mycotoxin checks.
- Actinomycetes DNA panels when water history suggests bacterial growth.
With thousands of inspections completed, I explain each step on-site, use moisture meters and thermal imaging when needed, and deliver clear results that guide the least invasive repairs. If you need a professional mold testing plan, we’ll review findings at your kitchen table and outline a practical path forward.
DIY vs. Professional Mold Testing: Accuracy, Safety, and When to Call
Deciding between a DIY approach and hiring a pro often comes down to accuracy, safety, and the scope of the problem. For many homeowners, a quick kit may feel like a first step.

Limitations of consumer plates: consumer mold test kits and test kits vary in media, exposure time, and handling. That variability can skew results and delay fixes.
- False negatives give a false calm; false positives cause unneeded expense.
- DIY samples rarely map moisture sources, so a visible stain can hide a bigger problem.
- Handling active growth can raise exposure risk if containment is absent.
Choosing a qualified inspector: a professional mold inspection pairs sampling with moisture mapping, trained interpretation, and safety protocols. That reduces error and gives clear next steps.
I’ve seen DIY plates mislead homeowners. I’m happy to review your results and, if needed, provide a professional plan. With 17+ years serving the Upstate, I bring local experience and practical solutions.
Interpreting Results: What “Elevated” Means and When Testing Isn’t Needed
A single elevated count rarely tells the full story without context about where and when samples were taken. We compare indoor air numbers to an outdoor baseline collected the same day. As a rule, indoor spore trap results should run about 50% lower than outdoor under similar conditions.
Some species show up poorly on air plates. Sticky or settling spores need tape lifts or swabs for confirmation. That’s why we translate lab results into plain English and a practical plan for your home.
Key points I use when reviewing results
- Elevated means higher indoor counts or presence of species not found outdoors that day.
- We watch patterns, not only totals—species ratios can point to an indoor source.
- Visible mold present? Public health guidance favors remediation first; testing then verifies clearance.
- If a consumer kit was used, follow instructions exactly; exposure time or handling errors can skew results.
If results conflict with signs or symptoms, we reassess sampling locations and timing. I’ll walk you through the report line by line and recommend the fastest, least invasive path that reduces exposure risk.
From Testing to Action: Safe Remediation Paths and Health Protection
Results should lead to a clear, sequenced plan that stops moisture and limits exposure. Once samples arrive, confirm the moisture source and choose containment and filtration when disturbance is expected.
When professional remediation is essential for your home
- Widespread contamination, porous drywall, insulation, or HVAC involvement needs professional mold oversight.
- Containment, negative air, and HEPA filtration are used where disturbance could spread spores.
- If black mold is confirmed on porous materials, replacement under proper containment is often safest.
Safe scope for DIY cleanup and when to avoid it
DIY is reasonable for very small, nonporous surfaces in a limited area if you wear PPE, ventilate, and follow careful methods.
Avoid DIY for enclosed cavities, ducts, or large areas. Improper cleanup can aerosolize fragments and worsen the problem.
- Sequence work: fix moisture first, remove affected materials, then HEPA-clean surrounding dust.
- Post-work verification may include visual checks, moisture confirmation, and focused samples when needed.
- We provide least invasive scopes, daily updates, and a transferable warranty that protects your family and finishes.
Preventing Future Mold: Moisture Control, Ventilation, and Monitoring
A practical prevention plan focuses on humidity control, drainage fixes, and routine monitoring.
Humidity targets and simple tools
Keep indoor humidity below about 50% using a dehumidifier or properly sized AC. Place a hygrometer in basements, crawlspaces, and baths for quick checks.
Fix leaks fast and improve drainage
Repair roof penetrations, flashing, and plumbing promptly. Clean gutters, add downspout extensions, and regrade where water pools near the foundation.
Vent fans, dryer exhaust, and ongoing monitoring
Vent bath fans and dryers outdoors with smooth ducting. Avoid venting into attics or crawl spaces. Consider air quality sensors for real-time alerts about spikes in humidity or particle counts.
- Maintain humidity under 50% and watch trends on a hygrometer.
- Choose materials wisely—skip carpeting in damp areas and use moisture-resistant finishes.
- Improve airflow behind furniture and inside closets on exterior walls to reduce cold spots.
Small, steady habits protect your home and lower the chance that spores find the wet materials they need for growth. If you want a practical prevention plan for Upstate residences, I can tailor settings and seasonal checks that keep air quality steady year-round.
Call Array of Solutions for Expert Help in the Upstate
Skip the call center: speak directly with an owner-inspector who blends contractor experience and environmental testing. I’m Douglas Ray Whitehead, founder of Array of Solutions (2007), and I handle every inquiry personally.
Work directly with Douglas Ray Whitehead—owner, inspector, and Expert Witness
I’ve lived in the Upstate for over 20 years. I’ve completed more than a thousand inspections and hundreds of remediations. As an Expert Witness in Greenville County Courts, I explain findings clearly and back them with science-based sampling and moisture diagnostics.
Least invasive, effective air quality solutions with a transferable warranty
We prioritize your schedule and safety. Our plans address the moisture source, protect finishes, and include a transferable warranty that supports long-term peace of mind.
Contact: (864) 710-6413 – scmoldremoval@gmail.com
- Speak directly with me for clear next steps on your mold home concerns.
- I combine building knowledge and testing to find the least invasive fix for your home.
- Air and surface methods are chosen case-by-case and explained in plain language.
- We respect your property with clean containment and finish protection during work.
- Whether confirmation testing, a second opinion, or full clearance, I’ll guide you from concern to solution.

Conclusion
Conclude with a simple action plan: stop water, limit spread, verify results, and prevent recurrence. Prioritize repairs when visible growth is obvious and plan careful testing for hidden sources or HVAC concerns.
If mold is present, act quickly: fix leaks, control humidity, and choose remediation that protects health and finishes. Use sampling strategically for clearance or when black mold or toxic mold is suspected.
Watch symptom patterns and respiratory problems tied to rooms; that data helps guide targeted sampling and faster fixes. If DIY results are unclear, I will review them and outline safe next steps.
Array of Solutions is here for water damage and mold home concerns. I will handle your case personally, with 17+ years of experience and a transferable warranty. Call (864) 710-6413 or email scmoldremoval@gmail.com.