Ever wondered How to Remove Mold from Wood when a spot on your timber is a minor stain or the start of serious decay?
My name is Douglas Ray Whitehead. I own and operate Array of Solutions in Greenville, SC, and I handle every inquiry personally. With over a thousand inspections and hundreds of remediation projects, I focus on quick, practical steps that protect both health and structure. Call me at (864) 710-6413 or email scmoldremoval@gmail.com for a precise, transferable workmanship warranty and a plan that protects your home with minimal disruption.
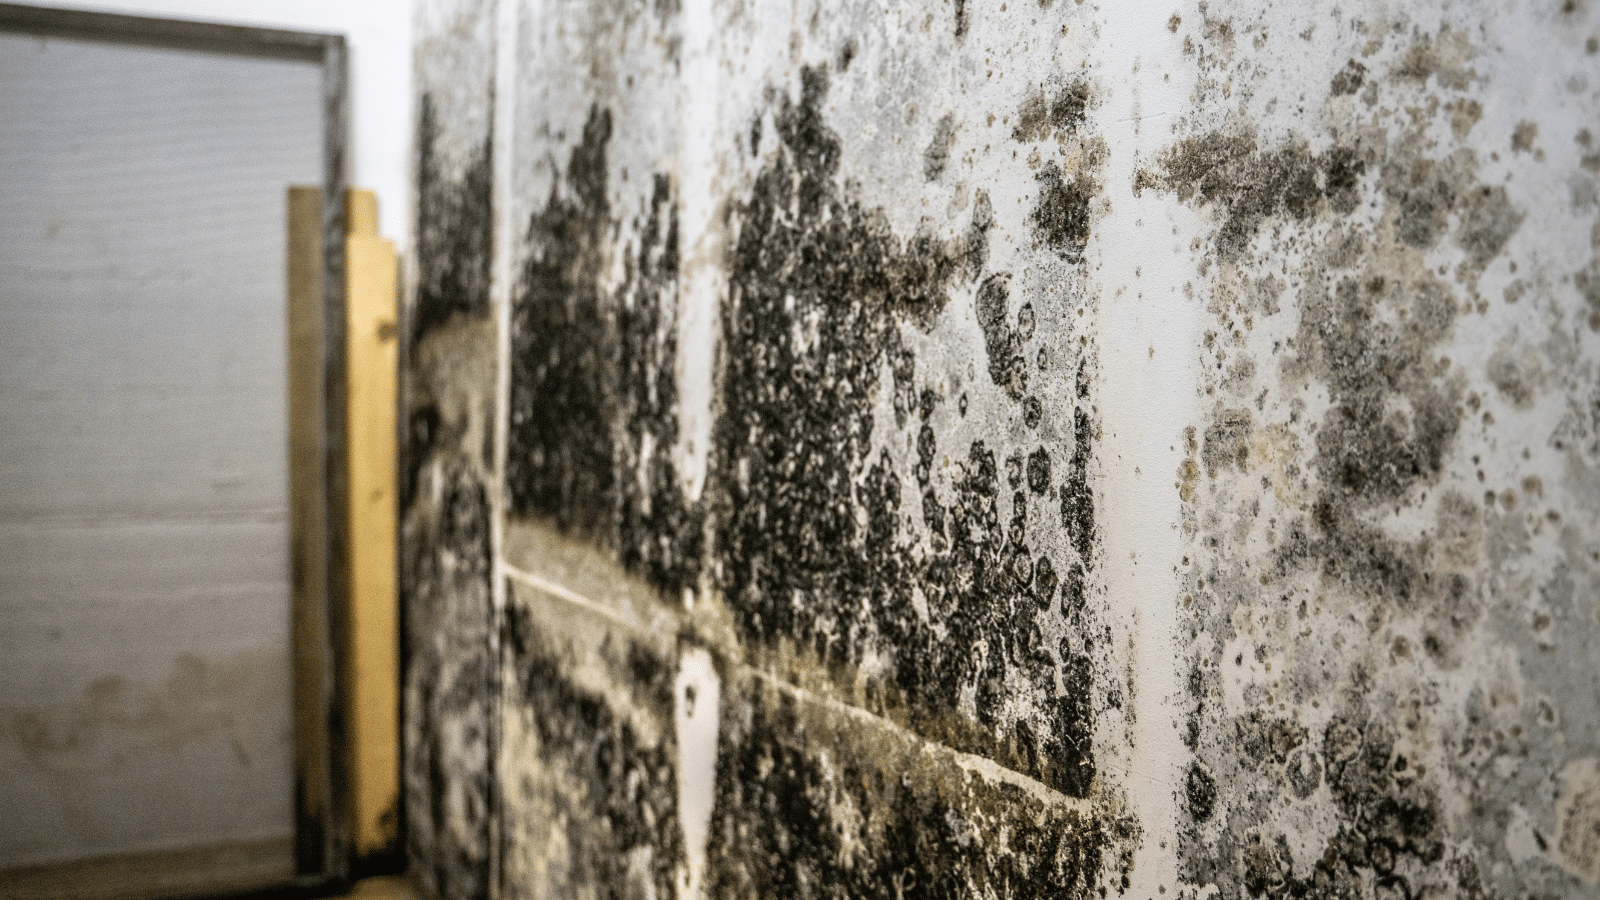
Mold thrives in warm, damp spots like basements and crawl spaces and can trigger coughing, eye irritation, and nasal congestion for sensitive people. Early action limits rot and often saves the original finish.
This guide lays out a safe, stepwise approach: assess the affected area, gather the right supplies, protect your air and skin, and pick the least invasive removal method that still works.
Key Takeaways
- Act quickly: moisture control prevents spread and structural harm.
- Protect yourself: use masks and ventilation when cleaning affected wood.
- Start gentle and escalate only when needed to preserve finishes.
- Know signs of rot so you can decide when replacement is necessary.
- For complex or large problems, contact Array of Solutions for expert help.
Understanding mold on wood and why quick action matters
Mold takes hold quickly where moisture, organic fibers, and poor airflow meet. Wood offers food and hidden pockets where growth can begin after just a short exposure.
Health effects can follow even small infestations. Coughing, irritated eyes, and wheezing are common when mold spores float in stagnant air near living spaces.
- Mold on wood develops when moisture lingers and air movement is limited, so early mitigation protects both health and the material.
- Drying wet areas quickly is as critical as surface cleaning; wet fibers speed growth and lead to rot if left unchecked.
- The CDC stresses exposure level over species, so we prioritize prompt action, ventilation, and moisture control rather than lab identification.
Acting within hours or days after water exposure dramatically improves outcomes for the affected area. Keep indoor humidity between 30% and 50% to reduce the chance of recurring mold wood problems.

Spotting mold on wood: identification, risks, and when wood is too far gone
Easily missed at first, surface growth shows up as colored patches, fuzzy coatings, or a persistent musty smell. We help you quickly spot the signs and decide whether cleaning will suffice or replacement is needed.
Common signs: colors, textures, and that musty odor
Look for black, green, gray, white, or red patches. Growth may be fuzzy, slimy, or thread-like. A musty odor often accompanies active colonies.
Mold versus dirt, water stains, or wood grain
Compare marks to the grain: mold spots are more uniform than natural swirls. Dirt usually wipes away and lacks odor. Water stains are tan or light brown and rarely smell musty.
When material is too damaged and needs replacement
- Probe gently with a screwdriver — soft, spongy, or crumbly wood indicates rot and likely replacement.
- Testing isn’t usually needed; the CDC recommends removing visible growth and fixing the water source.
- For uncertain spots, a bleach-dipped swab that lightens a stain suggests mildew rather than deeper decay.
Safety first: PPE, containment, and prep before you clean mold
Before you touch any discolored timber, put safety first and plan the space. We prioritize simple, least invasive steps that cut exposure while preserving surfaces.
Protective gear checklist
- Wear long sleeves, pants, and rubber gloves to protect skin during cleaning and removal.
- Use a sealed pair of safety goggles and an N95 mask or respirator to reduce airborne mold spores.
- Keep an extra set of clothing to change into; launder work items separately after the job.
Ventilation, isolation, and HEPA prep
Open windows and doors for airflow, but isolate the immediate area by closing interior doors and covering vents. This limits spread to other areas.
- Stage tools and a HEPA vacuum with a proper filter before any sanding or abrasion.
- Lay plastic sheeting under the work zone to catch debris and make final cleanup safer.
- Bag wipes, rags, and disposables securely and remove them from the home promptly.
Note: If you mix a cleaning solution, label it and never combine chemicals. Bleach can help in limited cases but never mix it with ammonia or other cleaners. After work, shower and keep pets and family out of the work space until surfaces are dry.
How to remove mold from wood: step-by-step
Start with the gentlest cleaners and work upward only if stains persist. Begin by wiping the surface with a mild dish detergent and warm water. Use a soft brush on the surface to loosen growth without soaking the wood.
Wipe residues with a damp cloth and dry quickly. Rinse-free methods are preferable when possible because excess water feeds regrowth.
- Vinegar treatment: Apply white vinegar, let it dwell up to 60 minutes, then wipe and dry. Vinegar penetrates pores better than many cleaners.
- Borax barrier: Mix 1 tablespoon borax per cup of water. Scrub with a brush and allow the solution to stay as the wood dries to deter future growth.
- Bleach caution: Use only when needed—1 cup per gallon of water, ventilate well, and never mix with ammonia. Bleach may lighten stains but often won’t reach deep pores.
- Sanding and cleanup: Sand only when fully dry. Wear PPE and vacuum dust immediately with a HEPA unit. Clean the HEPA filter as directed.
- Drying is critical: Between each pass, operate fans or a dehumidifier. Let surfaces dry completely to limit active mold spores.
Finish by bagging disposables and wiping nearby surfaces so loosened particles do not settle elsewhere. If stains or softness persist, contact Array of Solutions for an assessment rather than risking unnecessary damage.

Special cases: floors, furniture, and overhead surfaces
Not all infestations act the same; floors, furniture, and ceilings need different tactics. We tailor methods that protect hardwood and treasured pieces while limiting spread and damage.
Cleaning hardwood floors and checking sub‑surface softness
Work in small sections and keep water use low. Dry each surface promptly after cleaning with fans or a dehumidifier.
Probe suspect spots gently with a screwdriver. Slight softness may be salvaged with deeper cleaning and refinishing. Crumbly or spongy wood usually needs replacement to truly rid mold.
Wood furniture and ceilings: ladder safety, light abrasion, and drying
Start on furniture with a mild cleaner and a soft brush. Test any method on an unseen edge so finishes stay intact.
For overhead work, maintain three points of contact on ladders, secure tools, and ventilate well. When black mold staining shows on ceilings, contain the area below with plastic sheeting.
- Make sure each pass dries fully before moving on.
- Inspect adjacent surfaces after you get rid of the initial growth.
Prevent mold from coming back: moisture, humidity, and airflow control
Preventing future outbreaks means treating the house as a system, not just a stain. We want your fix to last, so focus on stopping moisture at its source and keeping indoor air moving.
Fix leaks and address water damage quickly
Repair roofs, pipes, windows, and doors promptly. Clear gutters and slope soil away from foundations so standing water never reaches framed areas.
Improve ventilation and appliance venting
Use kitchen and bathroom exhaust fans. Verify dryers and HVAC systems vent outdoors and keep drip pans and condensate lines clean.
Control humidity and use resistant products
- Keep indoor humidity between 30% and 50% with a dehumidifier or AC; monitor with a hygrometer.
- Dry wet spots within 24–48 hours after any water exposure; this is the best way to prevent mold growth on wood.
- Consider mold‑resistant primers or additives and wipe damp-prone surfaces regularly; vinegar can be part of a simple maintenance solution.
- When you get rid mold and control moisture, future cleanups are easier and less disruptive to your home.
When to call a professional and why Array of Solutions is trusted in Greenville, SC
If growth covers a large span or hides inside walls, it’s time for professional help. The EPA recommends hiring experts when the affected area exceeds 10 square feet (about 3′ x 3′).
Call us when you suspect hidden growth in ceilings, HVAC, or structural material. Large events, repeated water damage, or visible spread mean the problem may extend beyond surface cleaning.
- Health concerns: If anyone has asthma, allergies, or immune issues, professional containment limits exposure to mold spores and prevents further risk.
- Size and scope: Hire a pro when the affected area is larger than 10 square feet, or when HVAC and ducts are involved.
- Persistent moisture: Ongoing dampness or repeated outbreaks signals hidden sources that require diagnosis and repair.
- Material and furniture care: We protect sensitive items, including wood furniture, and recommend the least invasive plan that still gets rid mold safely.
I personally handle every inspection and remediation recommendation. With 1,000+ inspections, hundreds of successful projects, and Expert Witness work in Greenville County Courts, you get direct answers and accountable service.
- I wear the proper mask and gear, plan containment, and protect adjacent areas so spores do not migrate during cleanup.
- From first call to final walkthrough, we treat your home with care, clarity, and a transferable workmanship warranty.
Contact Douglas Ray Whitehead at Array of Solutions: (864) 710-6413 • scmoldremoval@gmail.com. Call or email me directly for scheduling and honest remediation advice.

Conclusion
A clear final plan makes cleanup safer and keeps your home healthy. Start with a soft brush, warm water, and mild detergent, then use white vinegar where deeper pores need attention. Follow with a borax barrier and a gentle drying regimen.
Use diluted bleach sparingly; it may lighten surfaces and often won’t kill mold deep in wood. Dry fully between steps and keep indoor humidity near 30%–50% so spores do not rebound.
Make sure you bag waste, launder work clothes separately, and test treatments on furniture and wood furniture first. If stains, black mold, or moisture issues persist, I can help personally.
Array of Solutions has protected Upstate homes since 2007 with least‑invasive, effective work and a transferable workmanship warranty. Call (864) 710-6413 or email scmoldremoval@gmail.com.