Ever wondered if unseen growth in your home is affecting your family’s health? That question drives every inspection I perform. I’m Douglas Ray Whitehead, founder of Array of Solutions, and I handle each inquiry personally—no call centers, no handoffs.
Mold can hide and still impact indoor air through spores and mycotoxins. Simple checks miss many problems. Accurate air sampling and clear interpretation matter for safety and long-term comfort.
In this guide, I explain how can you test for mold with practical steps for reliable testing, when DIY kits help, and when professional services are best. Expect straightforward advice on preparing rooms, labeling samples, and reading results so you know when prompt remediation is needed.
Array of Solutions has served Greenville, SC for years. I’ve completed over a thousand inspections and many remediation jobs. Your safety is my future—call (864) 710-6413 or email scmoldremoval@gmail.com for a personal consultation.
Key Takeaways
- Follow proper room prep for accurate air samples and labeled results.
- DIY kits provide quick clues; lab-grade services give precise identification.
- High spore counts or mycotoxin signs signal the need for remediation.
- Professional inspections include visual checks, moisture meters, and targeted sampling.
- I handle every contact directly to deliver least invasive, warranted solutions.
Why Testing for Mold Matters for Health and Indoor Air Quality
Invisible colonies in damp areas often send spores into living spaces. That lowers indoor air quality and can spark real health concerns for families and staff.
At Array of Solutions, we pair practical testing with clear recommendations. I draw on Expert Witness experience and thousands of inspections to link symptoms, building history, and results into a usable plan.
- Testing reveals whether elevated spores or specific types are present, clarifying links between symptoms and mold exposure.
- Early screening protects sensitive occupants and preserves home value by catching growth before finishes fail.
- Results guide targeted action—surface cleanup, humidity control, or full remediation—so effort and cost stay focused.
- Sick Building Syndrome often stems from poor ventilation and hidden moisture; testing separates normal background from true problems.
- Certain indoor species produce mycotoxins that aggravate respiratory systems, so documented findings matter for long‑term health.

Early Signs You Might Have a Mold Problem at Home
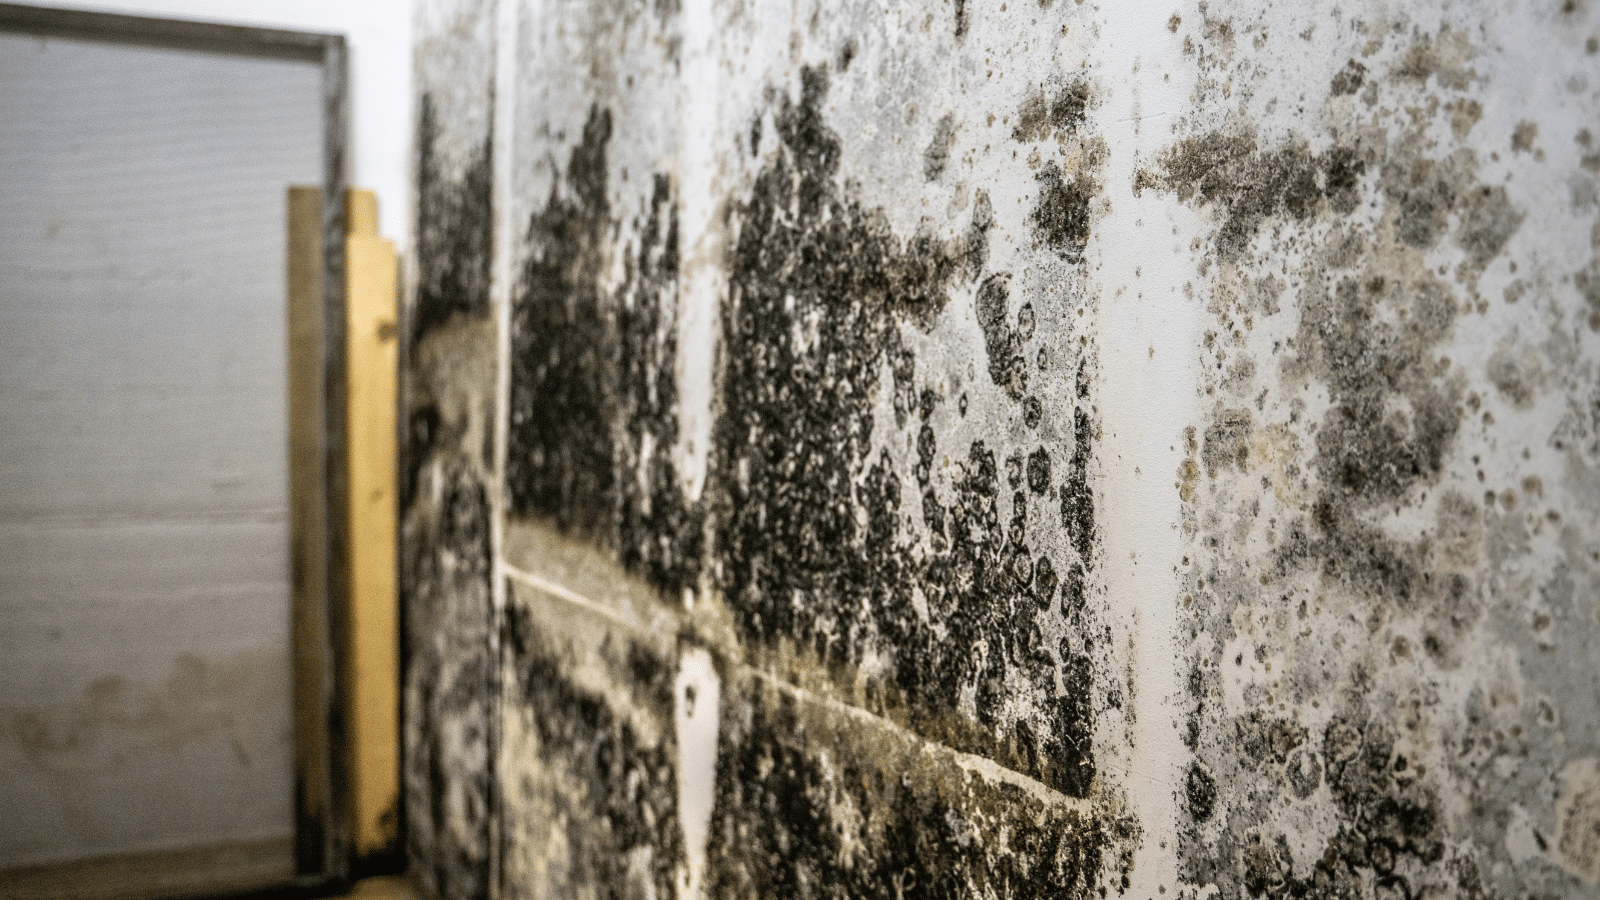
Tiny spots, bubbling paint, and stale air are often the first hints of an underlying mold problem. Look closely at ceilings, baseboards, and basement walls for dark spotting or discolored patches. Bubbling paint and warped materials show moisture has sat long enough to encourage growth.
Persistent musty odors, repeated condensation on windows, or high humidity in closets point to hidden colonies. Mold can begin within 24–48 hours after a moisture event, so act fast when smells or dampness repeat.
When symptoms suggest hidden issues
New or worsening allergies, asthma flare-ups, or frequent coughing among household members may match unseen mold activity. Note if symptoms get worse in certain rooms or after a plumbing leak.
- Visual clues: dark spotting, warping, water stains — these should prompt inspection or testing.
- Odors & humidity: musty smells and condensation often reveal hidden growth.
- Health signals: respiratory problems that appear after moisture events may indicate presence of spores.
If you suspect mold behind walls or under flooring, I’ll help decide whether testing or direct remediation is best. You’ll speak with me directly for tailored guidance and next steps.
How to Prepare Your Home for Accurate Mold Testing
Simple preparation steps help capture a true snapshot of indoor air and surface conditions. Follow a short checklist so testing yields useful results the first time.
Identify likely growth areas
Start by mapping common trouble spots: bathrooms, kitchens, basements, and cupboards. Pay special attention to places with past leaks or visible stains.
Safety and setup
Stage PPE before you begin: gloves, a filtration mask, and eye protection. Keep handling of soiled materials to a minimum.
- Seal the room from drafts at least 24 hours prior to placing sampling media to capture representative indoor conditions.
- Position Petri dishes or swabs near suspected sources but avoid touching wet surfaces unless the kit directs a surface sample.
- Label every sample with the specific area and date; clear notes on moisture events, recent cleaning, and temperature help with interpretation.
- If you see obvious visible growth in an accessible spot, consider immediate remediation instead of further tests.
- Maintain a clean workflow to prevent cross‑contamination—open one kit at a time and seal each item as directed.
At Array of Solutions I’ll review your documentation and advise whether lab analysis is needed or direct action is wiser.

How Can You Test for Mold
DIY sampling gives fast, practical insight into indoor air and surface conditions. Most kits use exposed Petri dishes, airstrips, or swabs for a set period. Follow the kit directions exactly to avoid misleading results.
DIY air and surface tests: Petri dishes, swabs, and proper placement
Choose a kit that includes both air plates and surface swabs so you compare airborne spores with suspect patches. Place air plates at breathing height on a stable surface away from vents and open windows.
For swabs, sample a small area of the visible patch and seal the tube immediately. Label each package with room name, date, and any recent water events or odors.
Timing and handling samples for reliable results
Expose plates for the exact time the instructions recommend; overexposure or underexposure skews comparisons between rooms. After exposure, seal plates quickly and store or mail per kit directions to preserve viable growth.
- Stagger tests across rooms to isolate a source.
- Keep brief notes on humidity and recent leaks to aid interpretation.
- When results arrive, compare rooms and match elevated indicators to visible clues or occupant symptoms.
If you’d like to start with DIY kits, I’ll advise on placement, timing, and reading results by phone or email, then recommend next steps or professional sampling if ambiguity remains.
Professional Mold Testing and Inspection Explained
A professional inspection uncovers hidden wet spots and traces that simple kits often miss. I bring a background as a contractor, home inspector, and Expert Witness in Greenville County. That experience shapes a disciplined, plain‑language protocol for every visit.
A full inspection begins with a detailed conversation about your home’s history, recent leaks, odors, and occupant symptoms. Then we perform a methodical visual survey inside and out.
- Tools: moisture meters and thermal imaging pinpoint concealed dampness behind walls or under flooring.
- Air sampling: options include traditional spore traps and a high‑flow “scrub” that collects airborne mold spores on a filter for medical‑grade analysis.
- Surface samples: targeted swabs or bulk samples give labs material to identify types and concentrations to guide remediation.
Lab analysis typically ranges from about $300 to $600, while DIY kits start near $35. After results arrive, we review findings and recommend steps—from drying and ventilation to targeted removal and containment when structural growth exists.
I explain results directly and outline a least‑invasive plan that protects occupants and property. Clear reporting helps prioritize the most affected zones and prepares a practical remediation path.
Interpreting Mold Test Results and What They Mean
Reading a lab sheet should feel like a map to action, not a page of jargon. I translate technical terms into clear steps for your family and property.
Elevated indoor counts versus an outdoor control often point to an interior source. Labs list species and quantities so you see the likely extent of growth and risk to materials.
Focus on species that favor wet building materials. Those types usually match active moisture and need prompt drying, containment, or removal.
- Compare rooms and controls to locate where spore counts rise and estimate presence.
- Use results to pick targeted actions: drying, containment, or removal in high‑elevation zones.
- If counts are low but odors persist, schedule targeted sampling or a moisture scan.
- Keep records of results to confirm remediation and maintain indoor air quality over time.
I’ll help set thresholds that fit your home and priorities, so background levels stay separate from issues that justify remediation.
Testing High-Risk Areas: Basement, Attic, and Behind Walls
A targeted check of basements, attics, and wall cavities often reveals the moisture sources that drive indoor fungal growth. We favor least invasive methods first—moisture meters, thermal imaging, and gentle probing—so your home remains protected while we pinpoint problems.
Basements
Inspect foundation walls for damp patches, efflorescence, or past water lines. These clues often match recurring growth and hidden damage.
Note ventilation and any standing water. Misplaced downspouts or poor grading frequently feed interior moisture.
Attics
Check roof sheathing, insulation, and soffit vents for trapped humidity or roof leaks. Blocked ventilation and poor insulation trap warm air and produce condensation on wood.
Hidden moisture and gentle probing
Use a moisture meter to scan walls and ceilings; readings above 20% indicate a problem and justify targeted openings.
Probe suspicious wood softly—soft or crumbling sections show decay and need prompt mitigation to limit further damage.
- Track exterior sources: downspout misdirection, flashing failures, or poor grading that drive water into wall cavities.
- Determine if visible surface growth is isolated mildew or a sign of deeper problems before choosing a fix.
- Document instruments, readings, and photos. Prioritize the worst area first to limit spread and control repair scope.
Don’t Forget Your HVAC: Air Ducts, Registers, and Returns
Ductwork issues are a common, overlooked source of indoor air problems. Poor insulation or condensation at registers often shows up as ceiling stains, rusted grilles, or damp drywall without a roof leak. Array of Solutions evaluates HVAC concerns with a light touch—checking insulation, condensation points, and targeted air sampling so only necessary remediation is done.
Signs of duct condensation and insulation problems
Look for condensation around registers, staining near vents, or rust on grilles. These are clear signs of excess humidity and failing insulation in duct runs.
Poorly insulated ducts in hot attics will sweat during cooling seasons and foster growth on interior surfaces.
When to sample supply/return air and call for remediation
Targeted samples of supply and return air reveal whether the system distributes spores through the home. If lab results show elevated levels linked to ductwork, remediation may include duct cleaning, insulation repair, and moisture control.
- Check that duct insulation is continuous, especially in attics.
- Maintain filters and service schedules to limit humidity and restricted airflow.
- We recommend remediation only when evidence supports it, focusing on source control and prevention.
- After corrections, consider follow-up sampling to confirm improved air quality.

From Results to Action: Remediation, Prevention, and Air Monitoring
When findings show active growth or moisture intrusion, decisive action preserves health and structure. If inspection reveals widespread visible contamination or clear water entry, skip further sampling and schedule professional remediation. Immediate containment limits spread and reduces long‑term damage.
When to skip additional testing and move to remediation
If visible colonies cover large areas or materials are saturated, further testing delays repairs. High risk situations—extensive staining, soft framing, or ongoing leaks—warrant direct remediation.
Moisture control and home hygiene to prevent future growth
Remediation pairs source fixes with removal or cleaning. Repair leaks, improve drainage, and seal envelopes before rebuild work begins.
- Keep indoor humidity below about 55% using dehumidifiers and ventilation.
- Change filters, run exhaust fans, and dry spills promptly to reduce recurrence.
- After work finishes, schedule a verification test to confirm the environment returned to baseline.
Real-time air quality monitors for ongoing protection
Modern monitors track spikes in particulate, humidity, and related metrics. Alerts let homeowners act early—often before visible problems grow.
- Budget wisely: lab testing often costs $300–$600; DIY kits start near $35 and help prioritize next steps.
- Follow-up: post‑remediation verification confirms success and documents reduced risk.
- Warranty & guidance: we deliver least invasive remediation with a transferable warranty, and I guide clients personally through results to prevention plans.
Why Upstate Homeowners Choose Array of Solutions
Local homeowners trust a hands‑on approach that pairs field experience with clear reports. I founded Array of Solutions in 2007 after years as a contractor and home inspector. Over 17 years I’ve completed 1,000+ inspections and hundreds of remediation projects across the Greenville area.
Owner-operated expertise: Douglas Ray Whitehead, Expert Witness in Greenville County Courts
I handle every call personally so decisions are fast and grounded in fieldwork. My Expert Witness background means documentation, photos, and reports meet court‑grade standards when needed.
Least invasive, effective solutions with a transferable warranty
We focus on targeted remediation that only affects what must be fixed. Using moisture meters, thermal imaging, and high‑accuracy air sampling, we map issues and confirm results before major work begins. Every job includes a transferable warranty on workmanship to protect your home’s value and family health.
- You speak directly with the owner—no middlemen—so plans are clear and timely.
- Inspections and mold testing are meticulous yet minimally disruptive.
- Remediation targets only necessary materials to save budget and time.
- Recommendations balance family health, property value, and daily life.
- Work is warranted and transferable, reflecting long‑term commitment.
- Expert Witness rigor supports reliable documentation and future needs.
- From water intrusion to complex indoor air issues, we move you from diagnosis to durable resolution.
Call for personal help today
Contact: (864) 710-6413 or scmoldremoval@gmail.com. I serve Greenville, SC and surrounding areas and will guide you directly through inspection, tests, and remediation planning.
Conclusion
Effective resolution hinges on spotting sources, reducing humidity, and confirming results after work is done.
Begin with informed testing to clarify whether a patch is suspect mold or a benign stain. Label samples, note recent leaks, and keep rooms sealed during collection so results reflect true conditions.
Address moisture to stop further growth. Small changes in ventilation and routine drying limit spores and help prevent mold return.
When visible damage is widespread, move to professional remediation and follow up with a post‑job test to verify restored air quality.
If you want direct help, I’m Douglas Ray Whitehead. Call (864) 710-6413 or email scmoldremoval@gmail.com. Array of Solutions has protected Upstate homes since 2007 with least invasive, warrantied solutions.