Can a simple bottle in your pantry protect your home and your family’s health? I often get that question in Greenville and the Upstate.
I’m Douglas Ray Whitehead, owner of Array of Solutions. I’ve handled over a thousand inspections and hundreds of remediation jobs since 2007.
In this short guide, I explain mold removal with vinegar, including when household vinegar works, why letting it sit matters, and which surfaces to avoid. I share safe, low-impact steps you can try for small spots and the red flags that mean you should call a pro.
Your safety is my future. Call me at (864) 710-6413 or email scmoldremoval@gmail.com for a precise, transferable workmanship warranty and a plan that protects your home with minimal disruption. We use least invasive methods, back work with a transferable workmanship warranty, and prioritize indoor air quality.
Key Takeaways
- Undiluted vinegar can treat many common growths on nonporous surfaces if it sits for an hour.
- Do not use on natural stone, waxed wood, aluminum, or cast iron.
- Small, localized spots can be handled by homeowners; areas over 10 sq ft need a professional.
- Control humidity (30–50%) and dry wet materials within 24–48 hours to prevent recurrence.
- For same-day advice in Greenville, call (864) 710-6413 or email scmoldremoval@gmail.com.
Why choose vinegar for mold removal at home
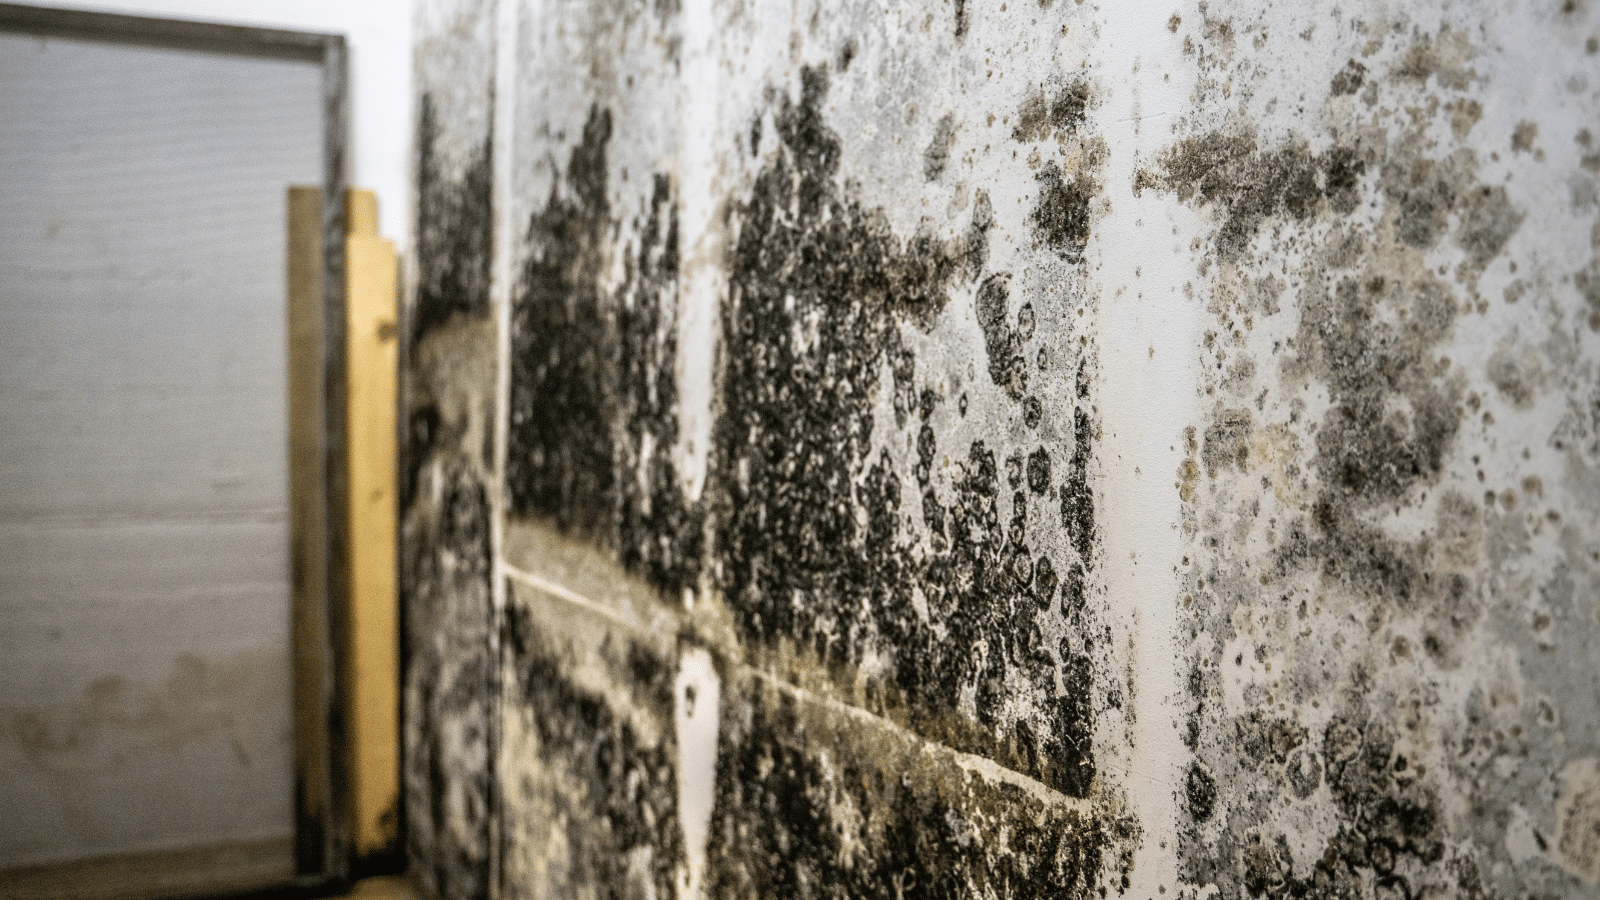
A common pantry staple can do a surprising amount of work in mold removal for visible growths at home. White vinegar contains 5–8% acetic acid, which disrupts fungal cell membranes and metabolic processes. That action helps many species die when the solution stays in contact long enough.

How white vinegar kills common species
Undiluted vinegar is more effective because the higher acid level penetrates surface colonies. Research shows it can defeat some common types, such as Penicillium, though others like Aspergillus may be less susceptible.
When vinegar isn’t the right tool
Vinegar outperforms bleach on many nonporous areas because bleach can leave fungal roots intact. Still, avoid treating natural stone, waxed wood, aluminum, cast iron, ceiling tiles, or carpet; acids can etch or damage finishes, and porous materials often need replacement or professional care.
- Use vinegar on sealed tile, grout, and other hard, nonporous surfaces.
- Do not test precious finishes—call us if you’re unsure about material or species.
- If you don’t see improvement after proper contact time, escalate to professional inspection.
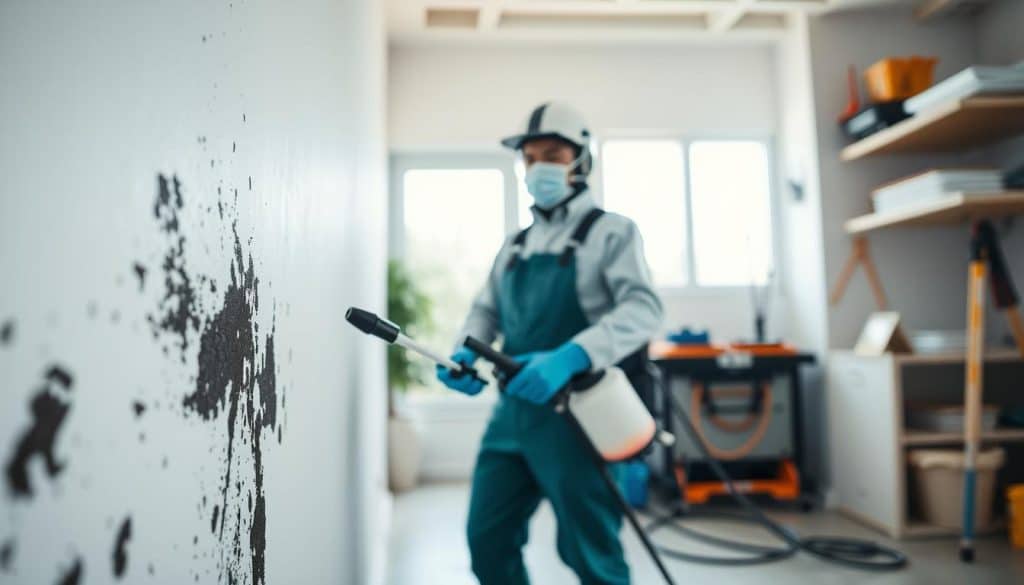
Safety first: protect your health before you spray
Safety starts before any cleaning — gear up and plan airflow. As a former home inspector and contractor, my first concern is your health. Your safety is my future. Reach me for guidance if you’re unsure about PPE or containment: (864) 710-6413, scmoldremoval@gmail.com.
Wear non-porous gloves, goggles, and a well-fitted mask. An N95 offers better filtration for fine particles and spores. Open windows and run fans that exhaust outdoors to keep air moving.
- Put on gloves, eye protection, and a mask before cleaning to reduce exposure to spores.
- Increase ventilation and create light containment by closing doors to nearby rooms.
- Avoid dry brushing or aggressive scraping; wet surfaces first to limit aerosolized spores.
- Never mix household products; vinegar must not be combined with bleach or hydrogen peroxide.
- Keep children and pets away, seal used cloths in a trash bag, and stop if you feel irritation.
If anyone in the home has respiratory issues, consider skipping DIY and calling for professional help. When you contact me, I’ll recommend right-sized safety steps for your home and sensitivity level.
What you need to get started
Start by assembling tools you likely already own to keep work least invasive and efficient. Good setup saves time and reduces risks when tackling small spots of mold.
Supplies checklist
- Gather: undiluted white vinegar (≥5% acidity) in a labeled spray bottle, a separate bottle for baking soda solution, a scrub brush, microfiber cloths, gloves, goggles, and a mask.
- Mix a light baking soda rinse (1 teaspoon per 2 cups water) in the second bottle for stubborn stains after dwell time.
- Choose a brush sized for the task—soft bristles for delicate finishes, firmer bristles for grout or textured tile.
Ventilation and containment basics
Open windows and run exhaust fans to move air outside. Keep doors closed to contain the work zone. Lay towels or plastic beneath the area to protect nearby finishes and ease cleanup.
If you’re unsure about a surface—especially natural stone, waxed wood, aluminum, or cast iron—send a photo and we’ll advise before you begin. We prioritize least invasive, practical cleaning and offer guidance for Greenville homes.
Mold removal with vinegar: step-by-step
Follow this simple, step-by-step routine to tackle small patches safely and effectively.
Ventilate the area, don PPE, and set light containment before you spray. Keep children and pets out of the room.
- Saturate the visible growth using undiluted white vinegar in a spray bottle. Get into seams and edges where colonies anchor.
- Allow at least one hour of dwell time. Longer contact often improves results on stubborn spots.
- Mix 1 teaspoon baking soda in 2 cups water and apply. Gently scrub with a suitable brush to lift stained residue.
- Rinse with clean water and dry thoroughly using microfiber cloths to deny moisture to any remaining fragments.
- Finish with a light final spray and allow the surface to air dry to discourage quick return.
Bag used cloths and disposable PPE immediately. If stains return or odors persist after proper steps, call us for a moisture assessment—hidden leaks often cause recurrence.
Boosting results: baking soda and other safe alternatives
Small stains sometimes need a follow-up step — a light baking soda rinse often does the trick. After the recommended dwell time, a mild baking soda solution lifts discoloration on grout and sealed tile without harsh abrasion.
How to mix and when to use it:
- Make the solution: 1 teaspoon baking soda per 2 cups water. Apply after you use vinegar and let it sit.
- Baking soda adds gentle abrasion and a small pH shift that helps cleaning and stain removal on compatible surfaces.
- For hard, non‑porous areas, 3% hydrogen peroxide applied alone and left about 10 minutes can help kill mold before scrubbing.
- Tea tree oil (≈1 tsp per 1 cup water) is another targeted option for non‑porous spots; test first for scent sensitivity.
- Do not mix hydrogen peroxide and vinegar; rinse between products and avoid porous materials where these methods only clean the face.
If stains persist after these steps, moisture may be the cause. I’m glad to advise which product to try for your specific surface and sensitivity.

Surfaces and rooms: where vinegar works—and where it doesn’t
Some rooms tolerate acidic cleaners better than others; know where to act and where to pause.
In the bathroom and kitchen, sealed tile, grout lines, fiberglass surrounds, and glass doors respond well to careful cleaning. These hard, nonporous surfaces let solutions sit and work without harming finishes.
On painted drywall, use light applications and gentle scrubbing. Avoid soaking the paper facing; oversaturation can cause damage and hidden growth to spread.
- Not preferred: concrete—acid can affect surrounding cement and finishes.
- Never use on: natural stone like marble or limestone; acids will etch these surfaces.
- Avoid on: wood floors and waxed wood; finishes can be stripped and dulled.
- Leather: dab a diluted 1:1 solution on a cloth and wipe; do not saturate.
- Porous surfaces: ceiling tiles, carpet pads, and similar items are often better replaced than cleaned.
Always test a discreet spot if you’re unsure whether a surface is sealed. Surface cleaning only treats visible signs—fixing moisture sources stops recurrence and protects your home and investment.
Critical warnings: products you must not mix with vinegar
Cleaning safety starts with knowing which household chemicals never meet.
Some combinations create dangerous fumes and irritants. I want you to stay safe while tackling visible growths and stains. As your consultant, I’ll always steer you away from risky mixes that threaten indoor air quality and family health.
Never combine bleach and vinegar. That reaction releases chlorine gas. Breathing chlorine can cause coughing, eye burning, and trouble breathing.
- Do not mix vinegar and hydrogen peroxide — together they form peracetic acid, a corrosive irritant to eyes, skin, and lungs.
- If switching products, rinse the surface with clean water and dry before applying the next one.
- Label bottles clearly and store incompatible products apart to avoid accidental mixing during busy cleaning tasks.
- Keep children and pets away while you clean and until the area is fully aired out and dry.
- If you feel burning in your eyes or throat, stop immediately, ventilate, and seek fresh air; call for help if symptoms persist.
Simple rule: choose one method at a time. Well‑executed, single‑product cleaning beats risky combinations every time. If you’re unsure about product compatibility, call me—two minutes of advice can prevent a dangerous mistake and protect your home.
Stopping mold from coming back: moisture and airflow control
Preventing future patches depends more on airflow and leak control than on cleaners. Our least invasive philosophy starts with prevention—solving moisture and airflow early avoids demolition later.
Fix the moisture source first. Without that, any cleaning is temporary and growth can return quickly.
Dry wet areas within 24–48 hours after spills, leaks, or water events to disrupt mold growth cycles. After floods, run fans and dehumidifiers continuously until materials are dry.
- Keep relative humidity between 30–50% using a reliable dehumidifier in basements or damp areas.
- Use exhaust fans during and after showers or cooking to expel humid air from bathrooms and kitchens.
- Insulate cold surfaces and improve air movement to reduce condensation on windows, ducts, and exterior walls.
- Monitor plumbing drips, roof leaks, and foundation seepage; repair promptly and verify dryness with a moisture meter when possible.
- Consider mold‑inhibiting paint additives in high‑risk rooms and keep stored items off basement floors to allow circulation.
If humidity or water issues persist, I can evaluate building factors and propose targeted improvements you can maintain. We’ll help you set realistic targets and tools to prevent mold and protect your home.
DIY vs. professional help in Greenville, SC and the Upstate
Deciding whether to tackle a patch yourself or call an expert depends on size, access, and symptoms.
EPA guidance: contact a professional when visible growth covers more than 10 square feet, when HVAC is involved, or when moisture sources are unclear.
When DIY is reasonable
Use vinegar-led cleaning for small, reachable spots on hard, nonporous surfaces. Wear PPE and stop if odors or health symptoms worsen.
When to call Array of Solutions
- Areas larger than about 10 square feet or recurring patches suggest hidden issues needing diagnostics.
- If contamination is inside HVAC, wall cavities, or crawl spaces, professional inspection is safer and more effective.
- We perform least invasive diagnostics first and focus on source control—not just cosmetic removal.
- We back work with a transferable warranty and thorough documentation; I personally answer calls, perform inspections, and guide options.
Established in 2007, we offer deep regional experience and Expert Witness credentials. Call me at (864) 710-6413 or email scmoldremoval@gmail.com for clear, direct advice about your home.
Conclusion
When small patches appear, a focused, stepwise approach gives the best chance of success. Effective small-scale cleanup uses undiluted white vinegar, proper dwell time, and careful surface choice. Combine that method with basic PPE and good ventilation for safe, reliable cleaning.
Preventing return is critical: control humidity (30–50%), dry leaks quickly, and run exhaust fans after showers or cooking. If a spot is large, recurs, or involves HVAC or wall cavities, pause DIY and seek a professional assessment to find the source and ensure lasting results.
I’m here to help—personally. Array of Solutions brings compassionate, expert guidance to Greenville and the Upstate. Your safety is my future. Call (864) 710-6413 or email scmoldremoval@gmail.com for advice, photo reviews, or to schedule an inspection.